Quick Nav: Round 1, Round 2, Round 3.
This post will be the dump space for my log in my quest to figure out an easier way to polish up masters. It will be an in-progress post for quite some time, and added to so everything is all one in place. I may pre-write some things, so I’ll do my best to date as I go along.
I have chronic pain, and can’t sit and polish for hours and hours, because it just nukes my shoulders and back. I’m hoping I can find a method that will, at the least, take out most of the work and leave me with just a bit of finishing to do to get them up to be nice glassy things.
I have purchased a vibratory tumbler, ceramic sphere media, and some polishing compound. As of today (4/20/22) I am waiting on the media to come in — the tumbler and the polishing compound have.
I have printed dice masters and did not take any care in removing the supports so I do have some busted corners that I’ll photo document. Since these are just test masters, I didn’t want to spend a lot of time carefully removing the supports to preserve the edges, since my main focus right now is on face polishing (and I can always print more masters).
I twisted off supports and then followed up with my flush cutters (again, this is not a normal support removing method — you don’t want to do this on masters you’re actually going to want to use!). I will sand off the rough stuff with sandpaper, and that will be all I do to these before I toss them into the tumbler. I will be tumbling without polishing compound for this first round to see what happens.
If you find this post useful, please consider tossing a coin for your Witcher over on my Buy Me a Coffee page. You can offer support for as little as $1, and membership start at only $2.
Products used:
Vibratory Tumbler
3mm Ceramic Spheres Tumbling Media – 4lbs
Chemical Guys V34 Polishing Compound
500 Grit Sandpaper
Zona Polishing Papers
Masters 3d printed with Elegoo Mars Transparent Standard Photopolymer Resin
Round 1 – 4/21/22:
Dice masters trimmed with flush cutters then bathed.
Sanded with 500 grit sandpaper, bathed again.
Tossed into the tumbler with media and no polishing compound.
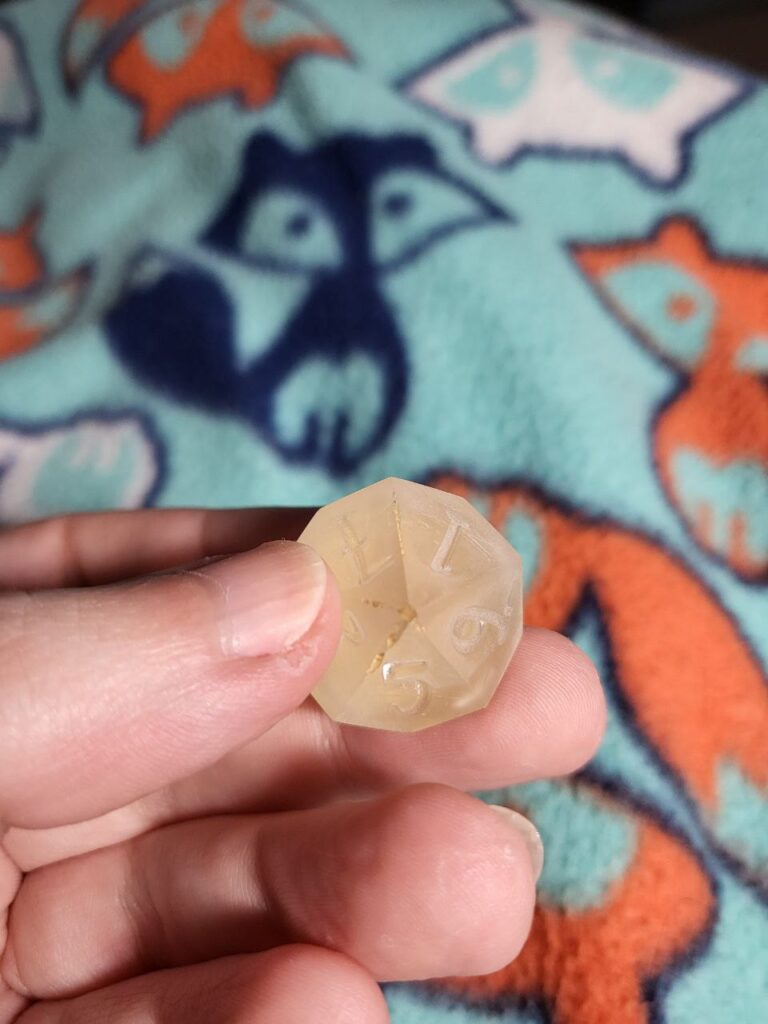
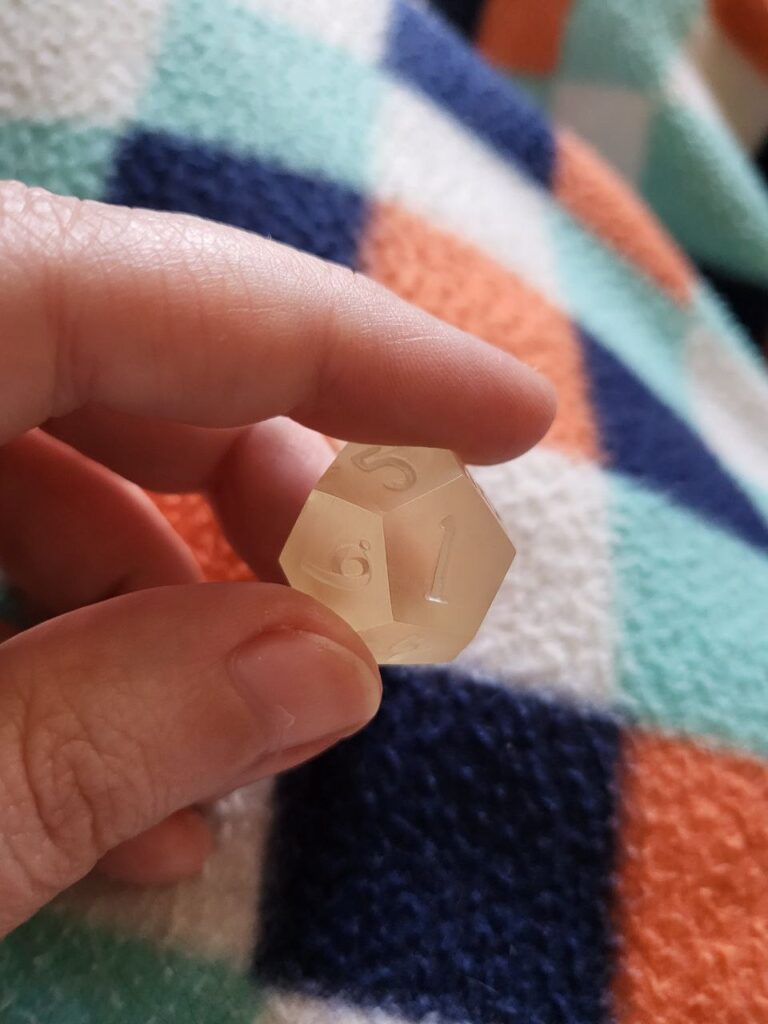
Ran for 4 hours, rinsed, and photos were taken.
I way janked up my edges on these because I really didn’t care and totally polished on a surface that I shouldn’t have (plastic with some give — make sure you’re using a hard surface when doing something you care about!). I just sanded until anything rough was gone, and print lines were not visible. When printing these I didn’t bother to clean the residue out of the numbers or anything, since I don’t expect them to be moldable (and there were some print flaws, anyway. But they’re definitely good enough to test with since we only care about the faces!).


Video for this round is available on my Tiktok, @geekyjen.
@geekyjen Dice master polishing start. Round 1. #dice #dicegoblin #dicemaker ♬ original sound – geekyjen
@geekyjen Dice master polishing update 1. #dice #dicegoblin #dicemaker ♬ original sound – geekyjen
These went in at about 3:10pm EST, so I will check them at about 7:10 and report back. I ended up putting some craft foam under my tumbler to try and dampen some of the noise (ahahahah, that didn’t help at all!) and because I was paranoid that it would vibrate itself off the counter. I did roll it up under one side of the tumbler, which is why it’s at an angle. I noticed my dice weren’t being sucked under the media — not sure if this is due to me needing more media (I have 4lb in), or just because it hates me. Tilting worked though. And again, these went into dry media to see what happens. For science!
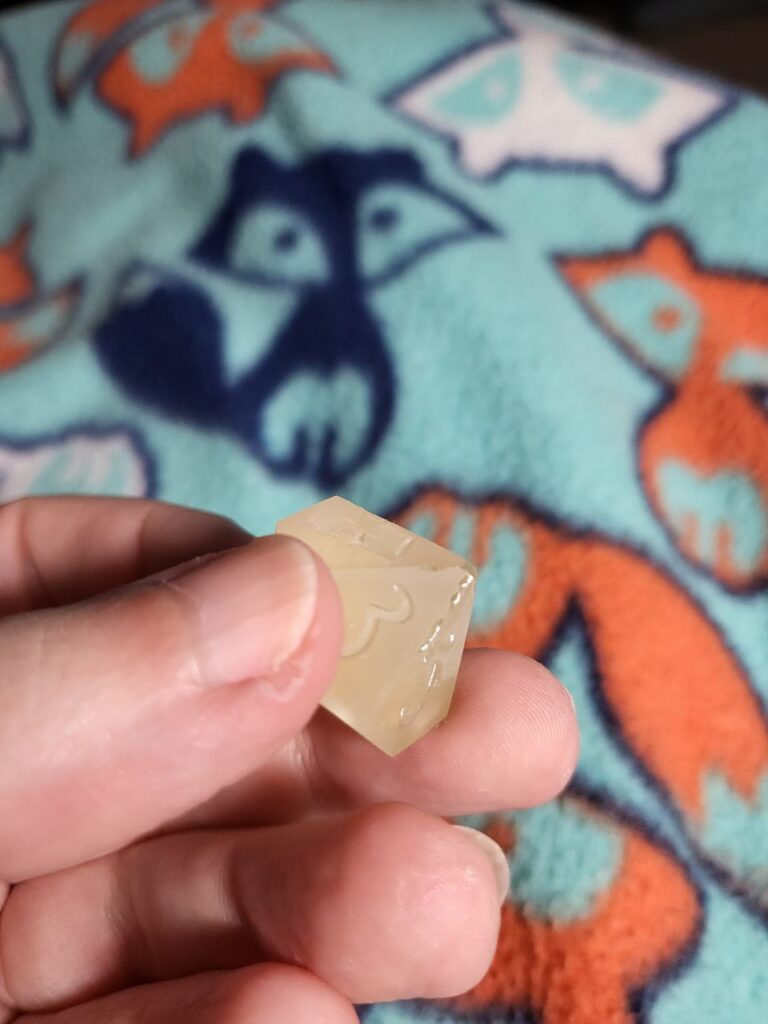
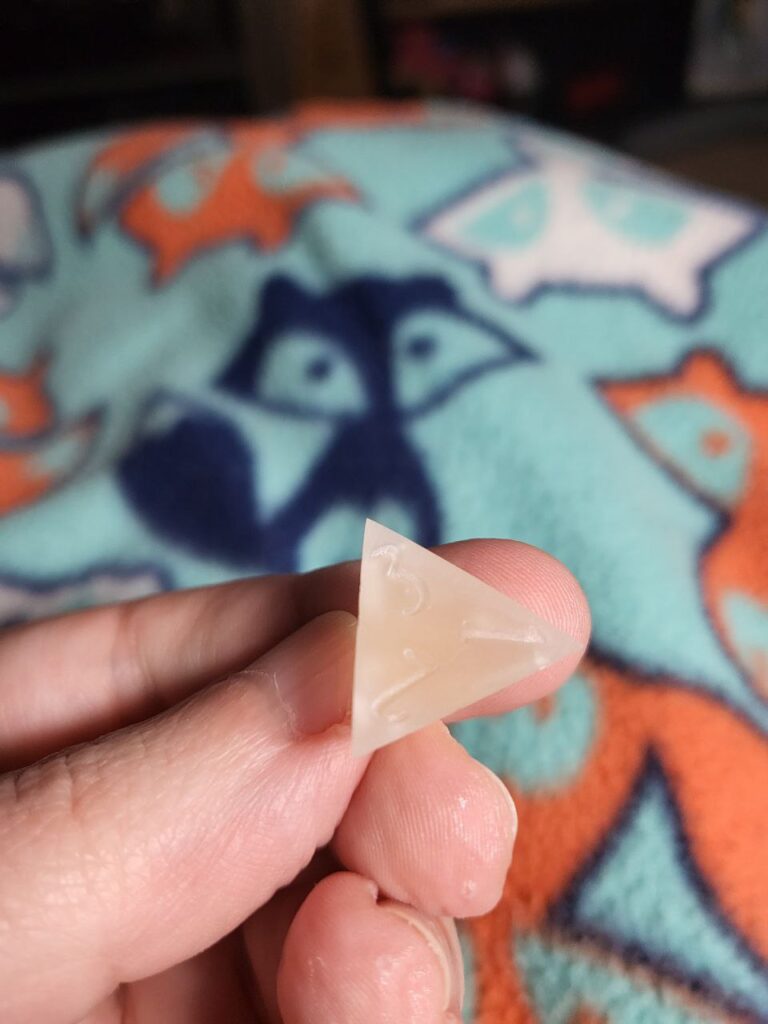
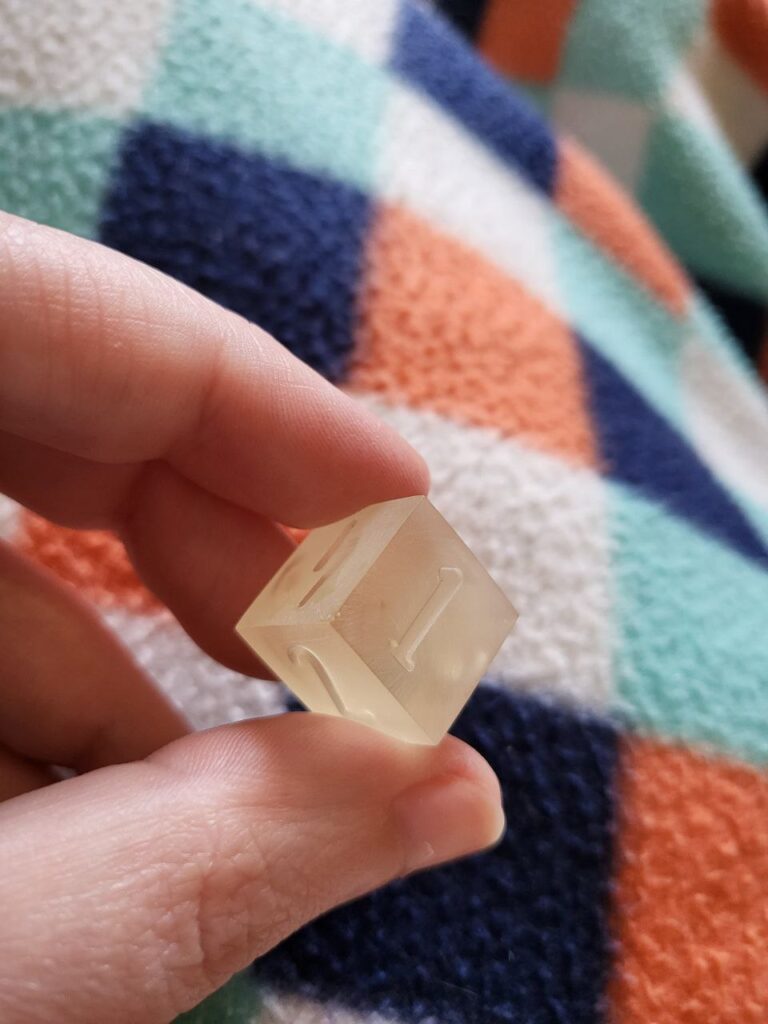
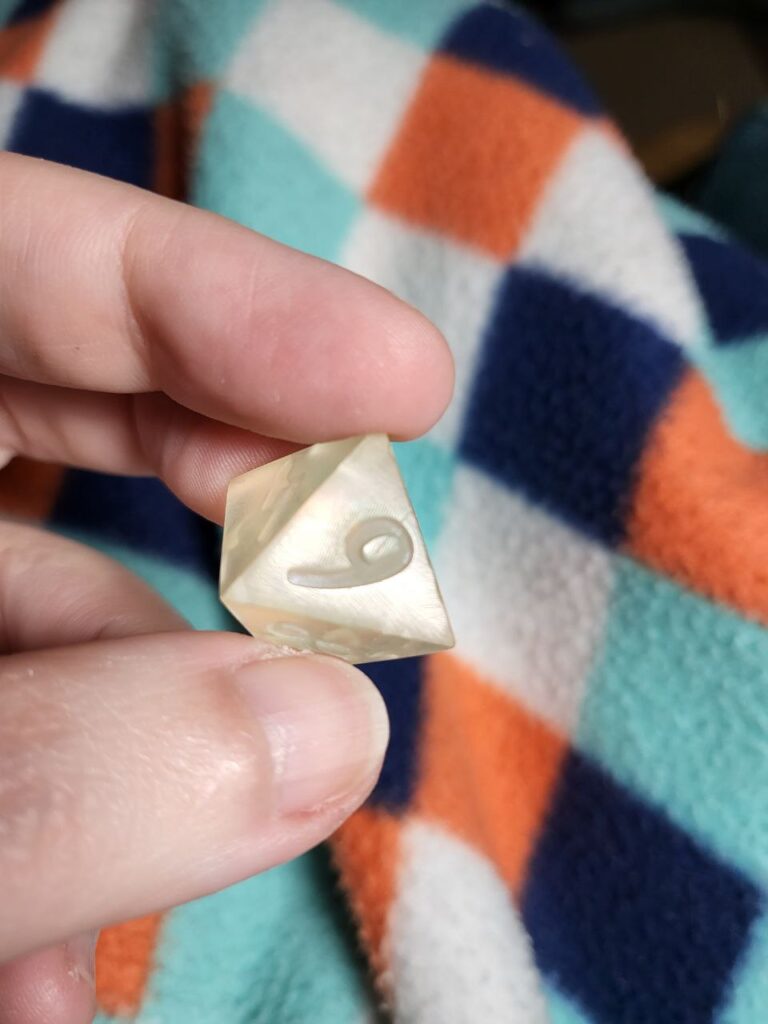
Round 1 – 3 Hour Mark:
Dice were checked on at this point and rinsed to see how they were doing. You can see photos of this below.

@geekyjen Dice master polishing round 1 – 3 hours, no compound. #dice #dicegoblin #dicemaker ♬ original sound – geekyjen
Ended up checking at 3 hours instead of 4. I see maybe a little difference, but not much. Dice went back in with some polishing compound. I’m going to try to leave them run over night, but we’ll see how that goes. At this point I’m not sure if we’ll get up to glassy, or if I should have hand sanded more before putting them in. I’m going to expect it will be at least a 24 hour tumble, but we’ll see!
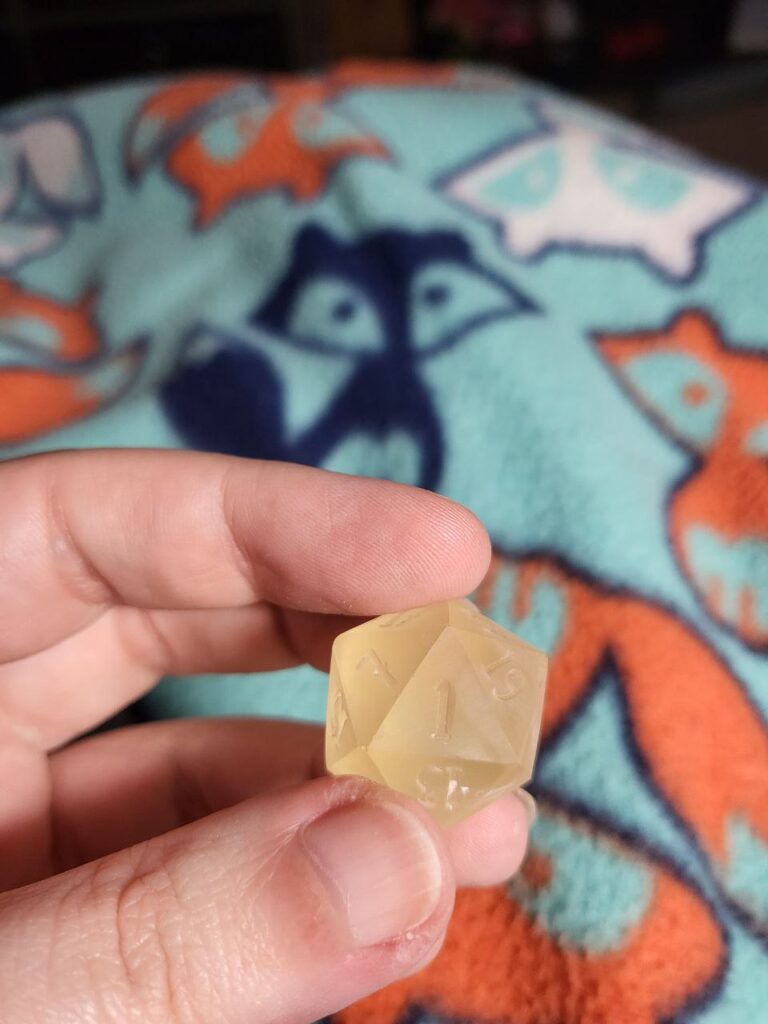
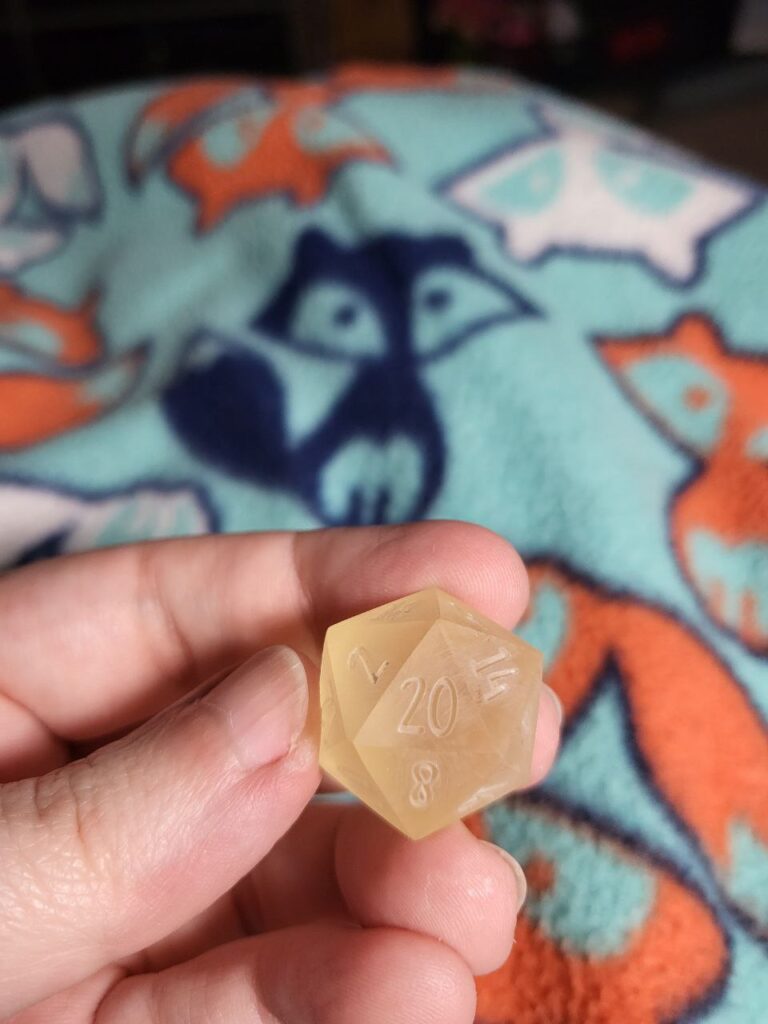
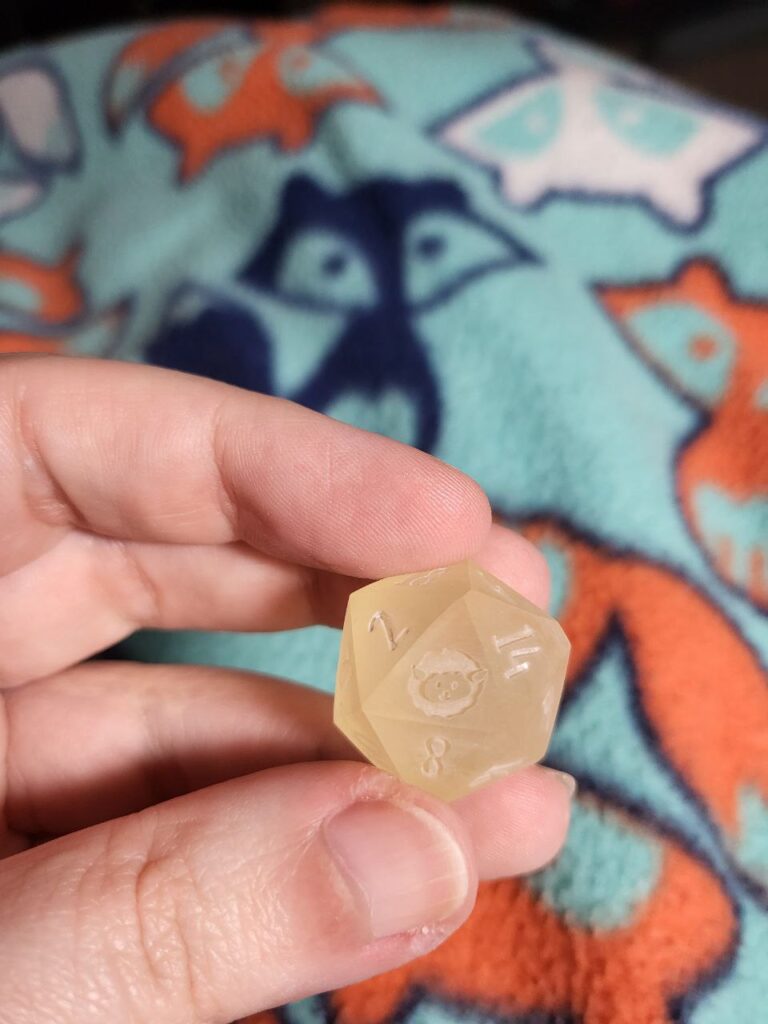
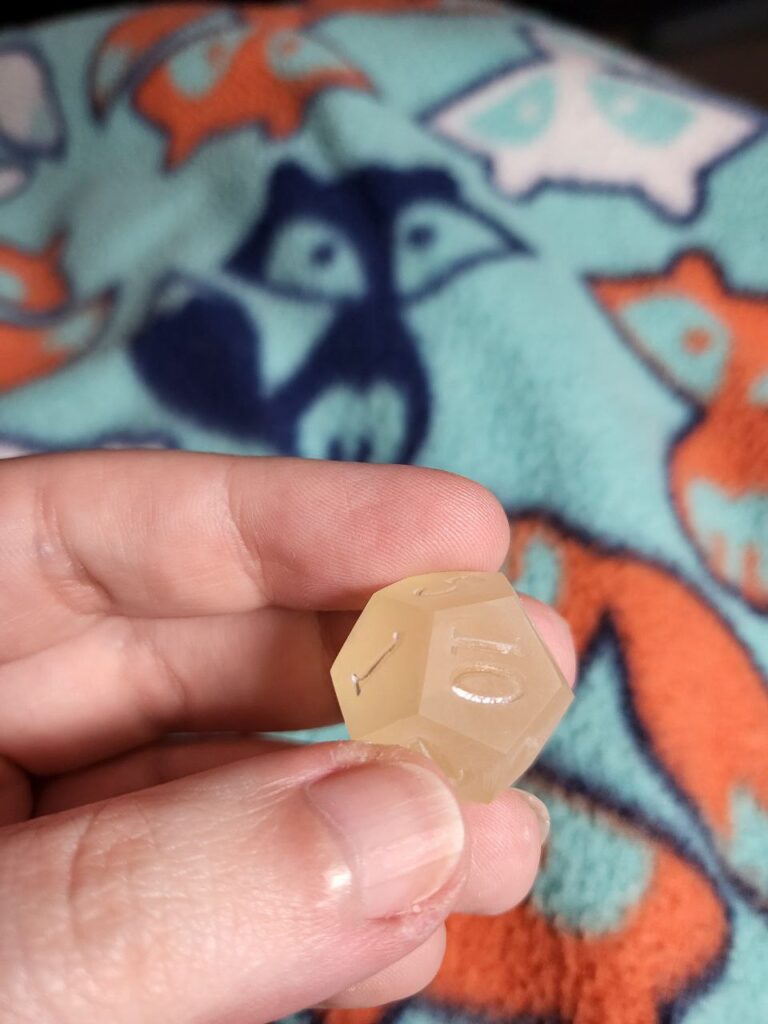
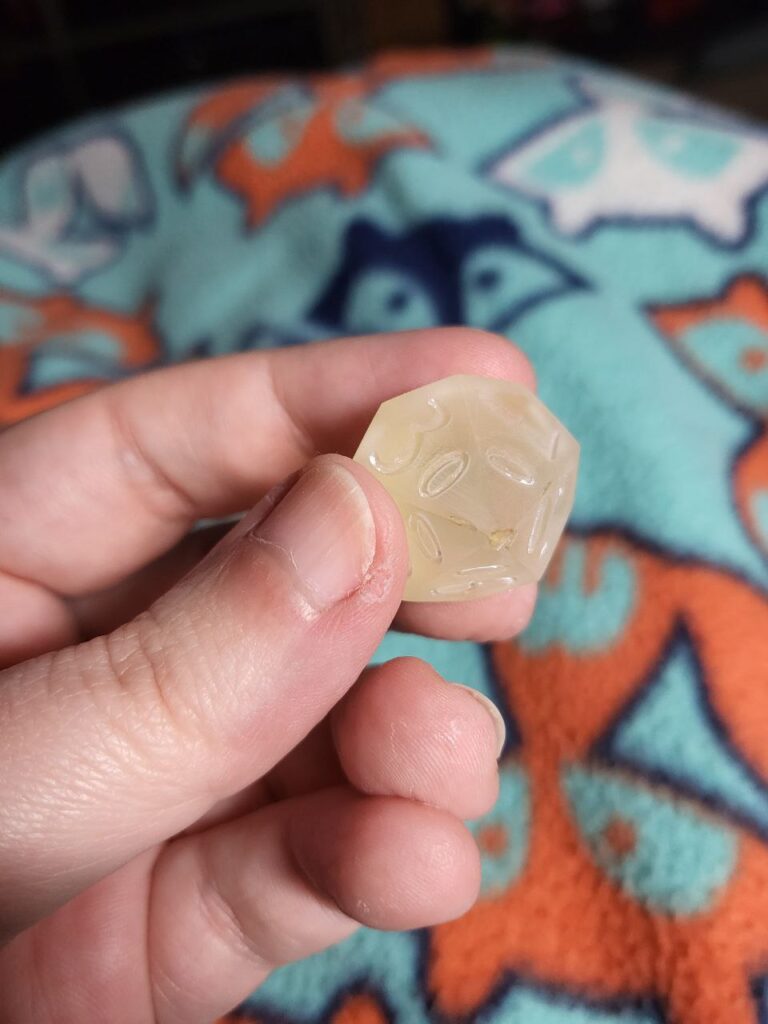
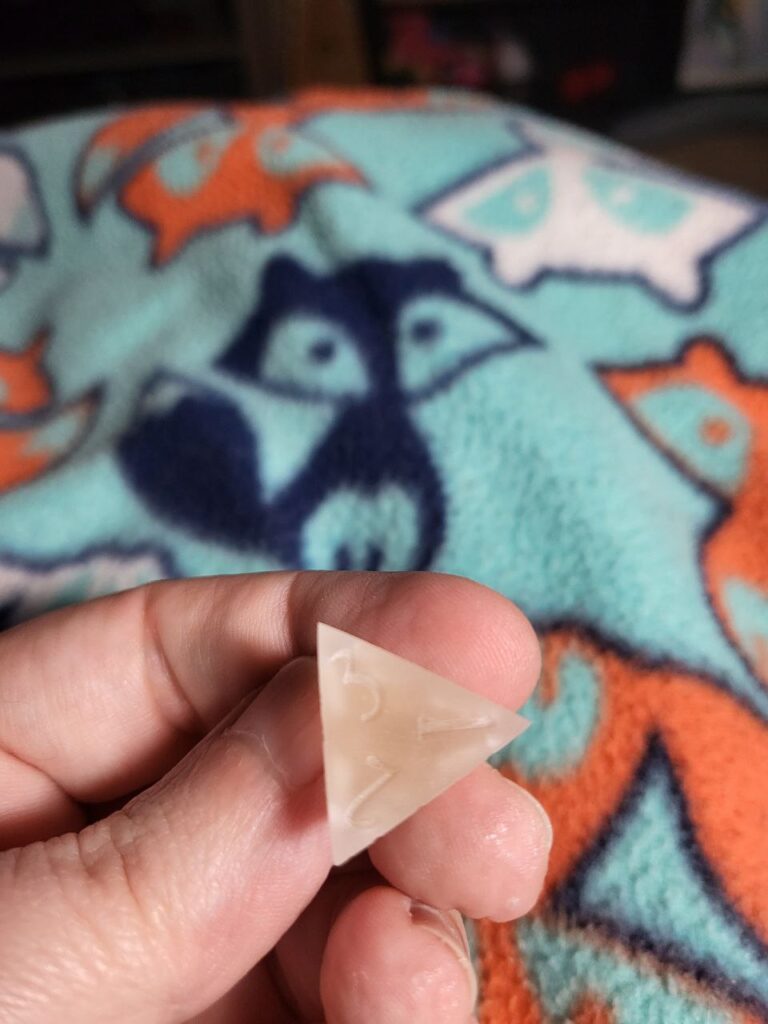
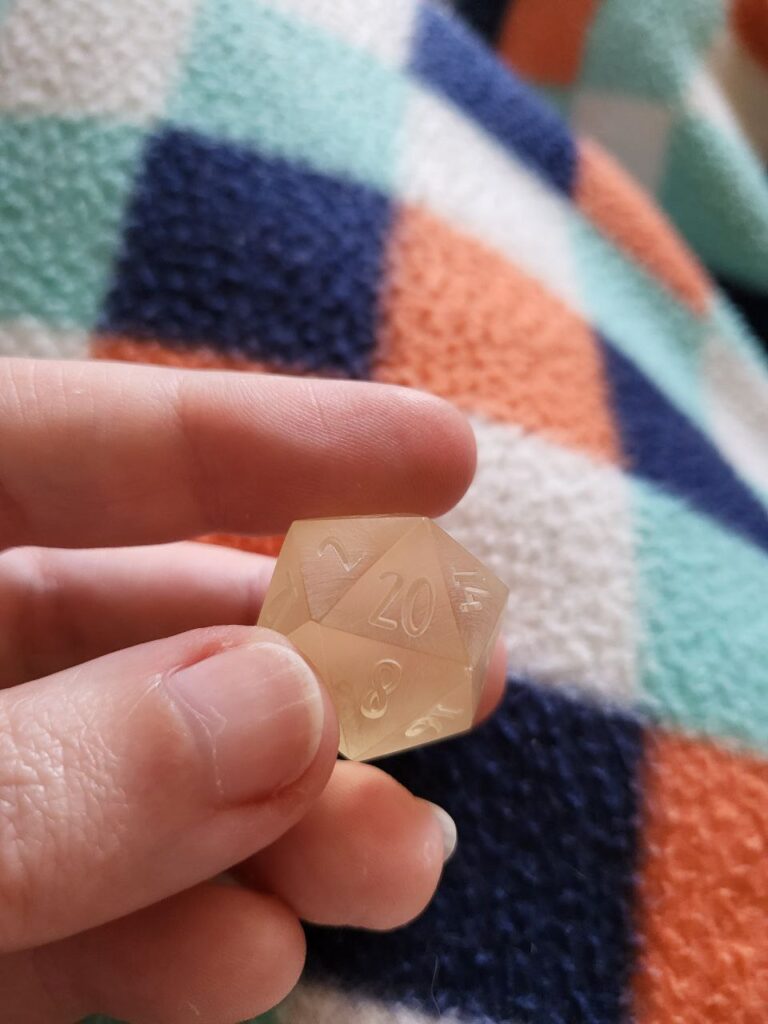
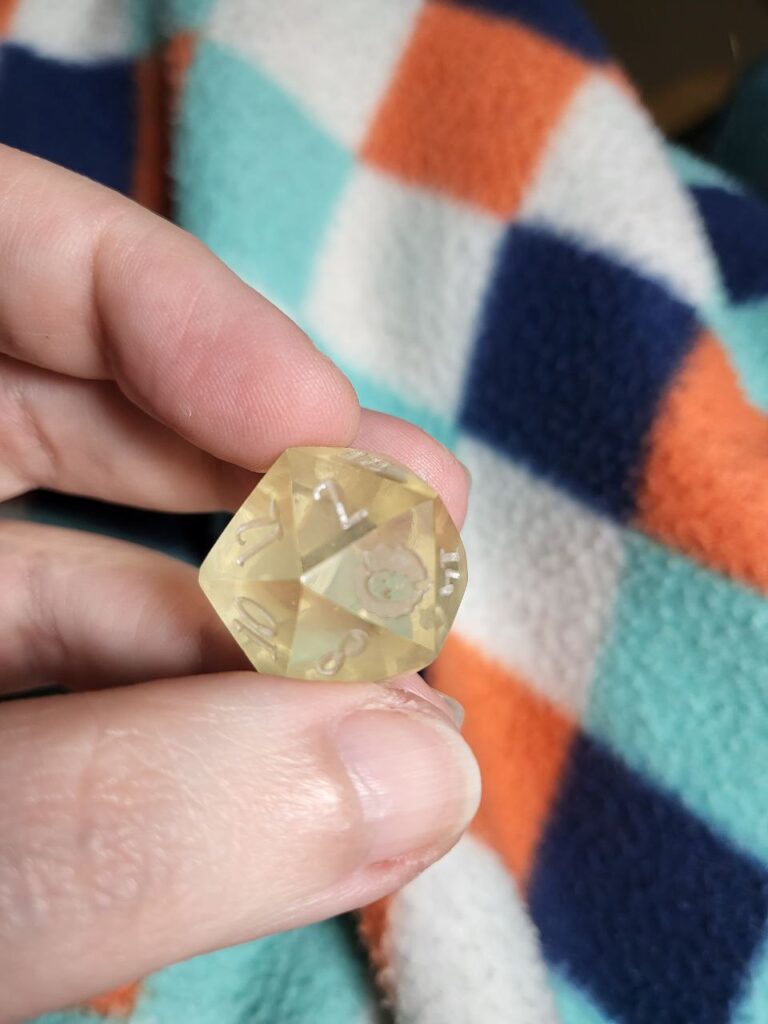
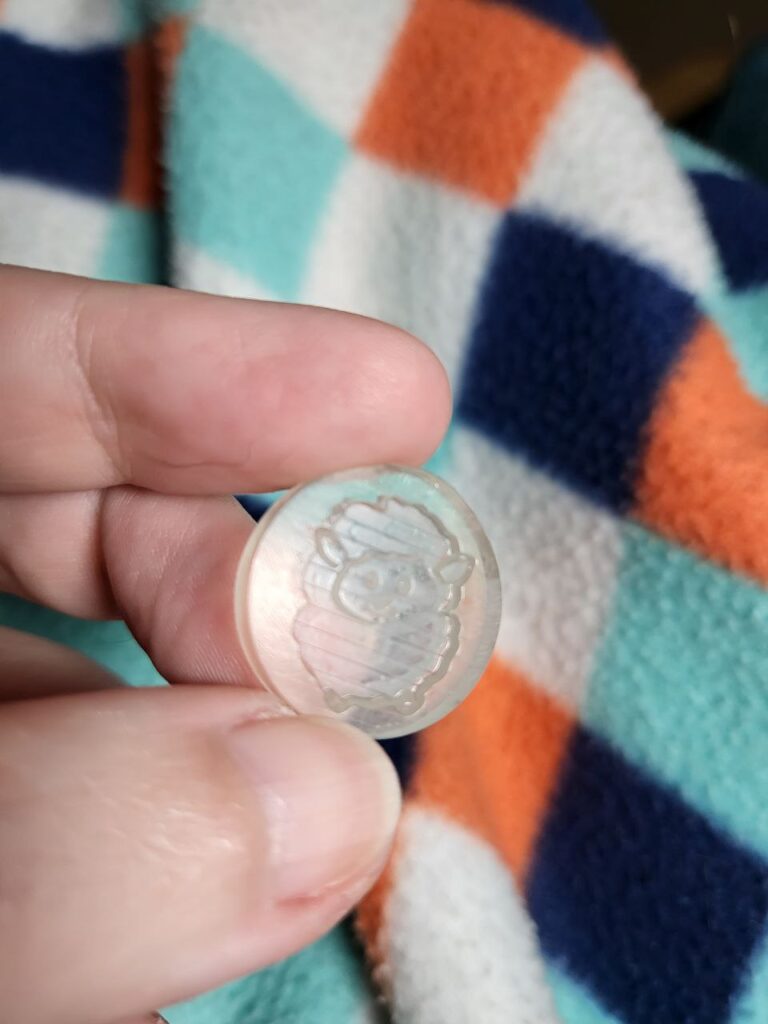
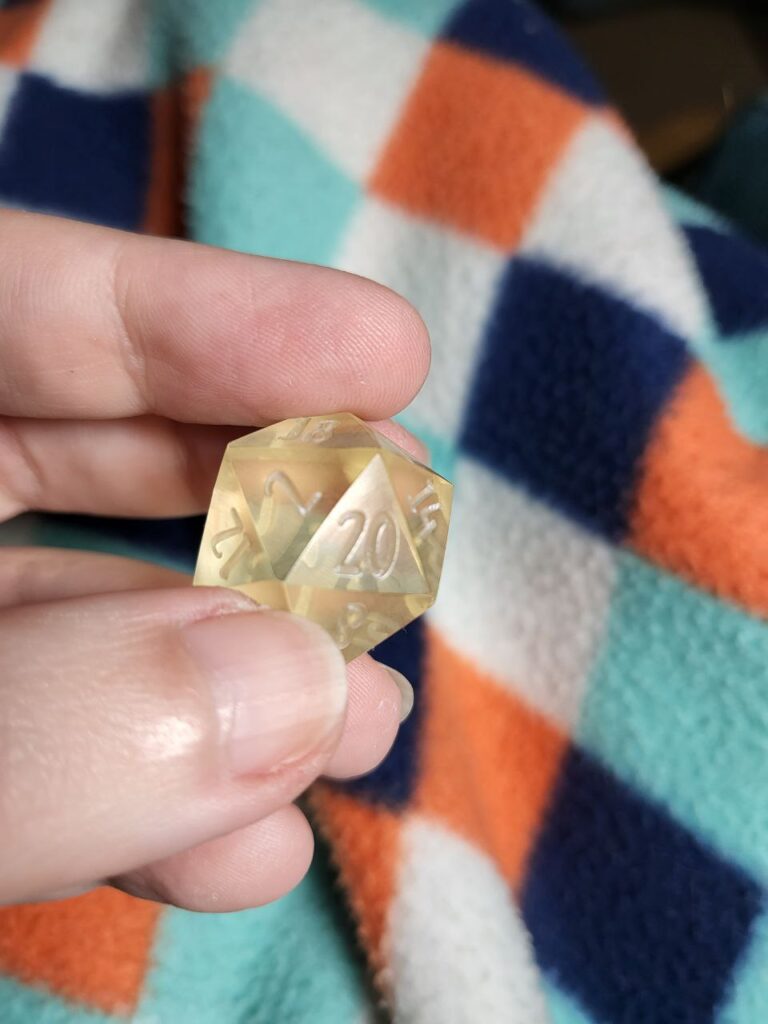
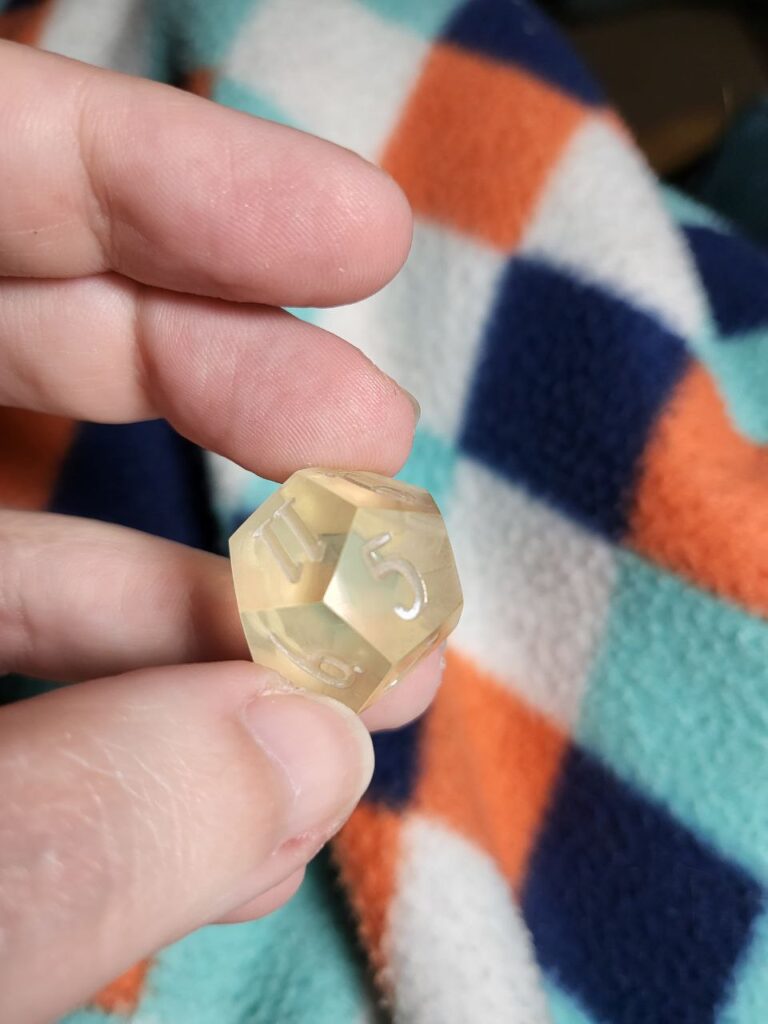
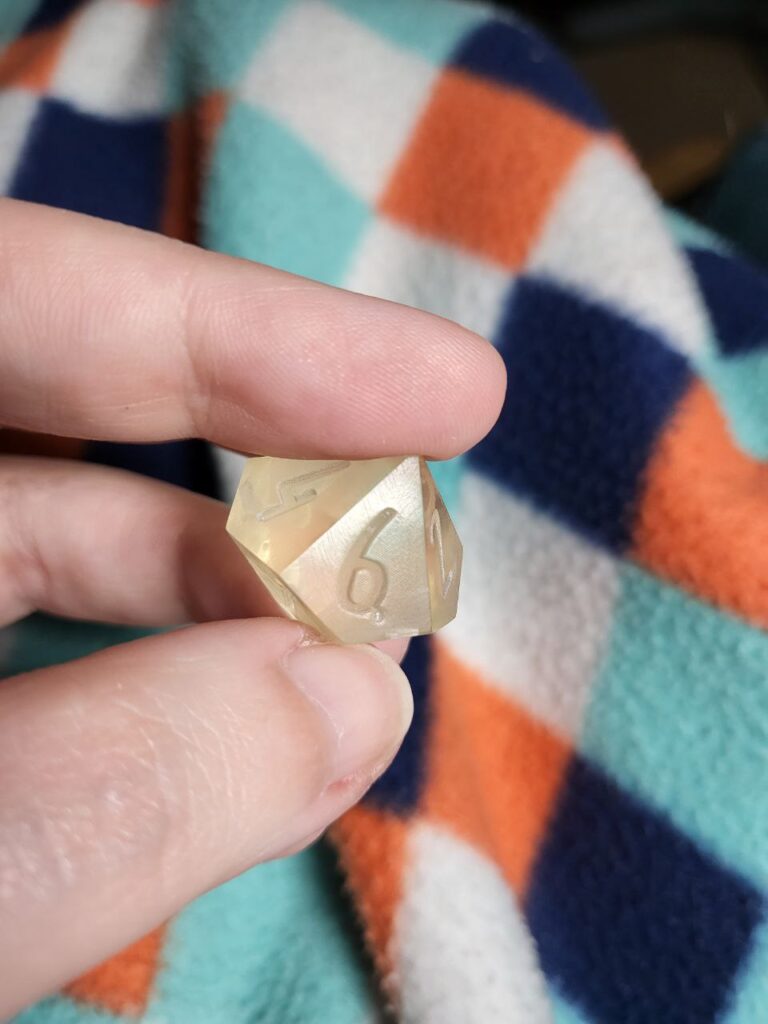
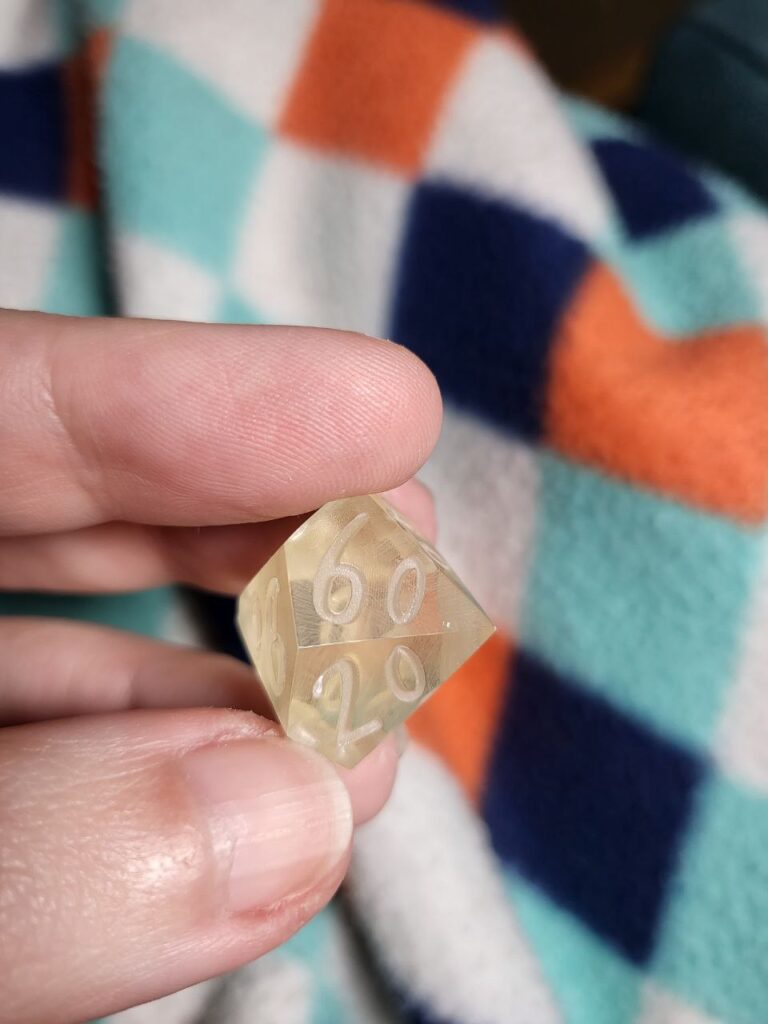
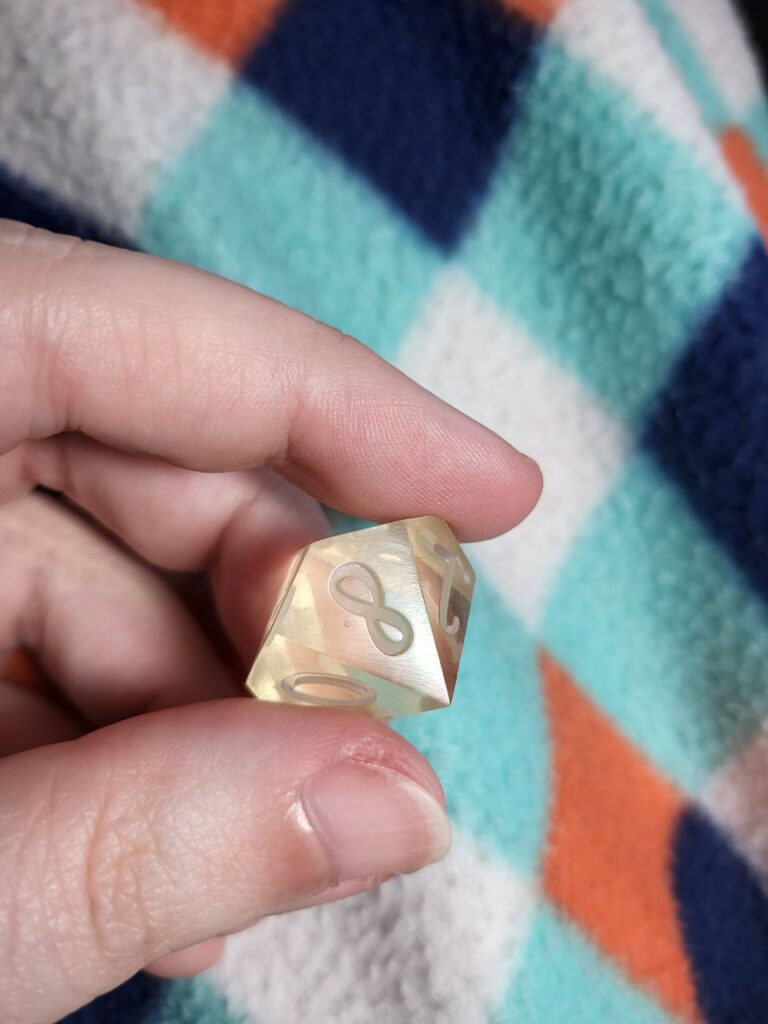
Round 1 – 8 Hours w/ Compound
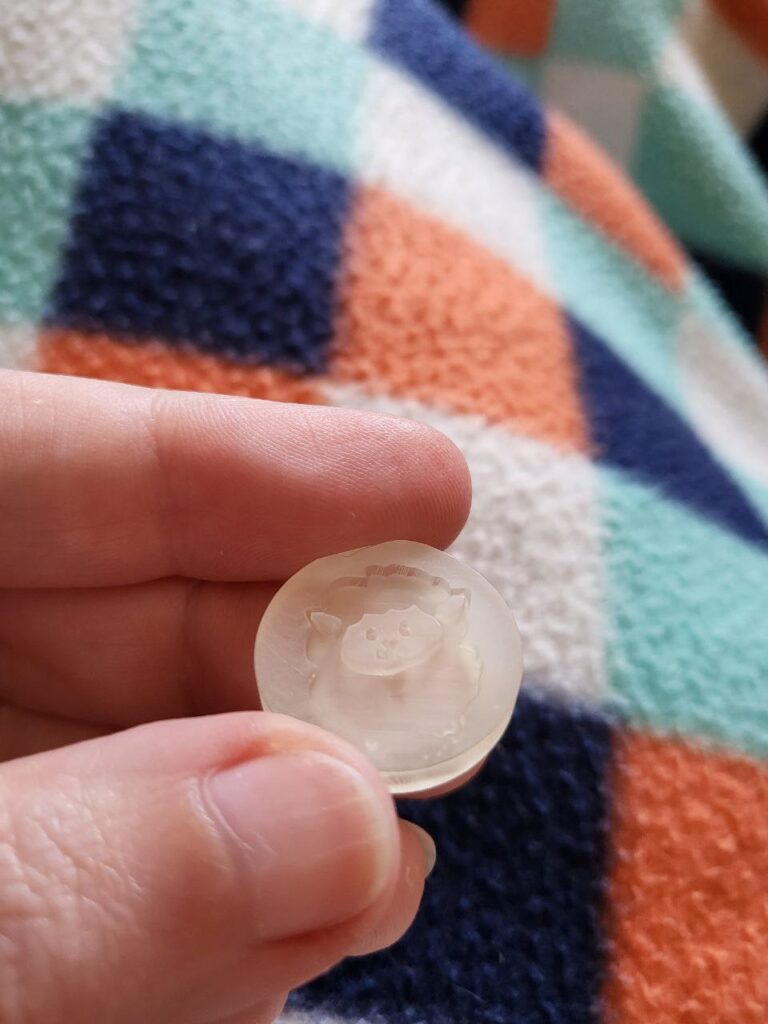
As mentioned, I dumped everything back in the tumbler and left it to run overnight. I did end up getting up about 2:30 in the morning to pull these, because I wanted to make sure I had good documentation for this, and right around the 8 hour mark. You can see how they came out below:

@geekyjen Dice master polishing round 1 – 8 hours with compound. #dice #dicegoblin #dicemaker ♬ original sound – geekyjen
We aren’t the finished level of glassy, but we’re definitely getting there! I feel like maybe a couple of levels of Zona Papers could take care of what’s left — which is a big step up from having to hand polish completely, and something I’ll glady take! I don’t know if they just need more time in the tumbler at this point, if I should have sanded to Green Zona first, or if this is the best we’re going to get.
Moving forward with this round, I think I may test hand polish one face to see how many papers are needed here to go up to actual glass-like that we want from masters, and then toss them in the tumbler for another 4 hours to see where we’re at, but I’m going to move onto Round 2 for now.
Round two is currently printing, then supports will be removed, the rough from the supports sanded, and that will be it. They will go into the tumbler for 8 hours, and we’ll see what we get!
Round 2 – 4/22/22
Dice masters soaked in warm water, supports trimmed with flush cutters, then post cured.
Support areas sanded with 500 grit.
Tossed into the tumbler with polishing compound.
This new round of dice went into the tumbler at 1:30pm. I will pull it in 8 hours, at 9:30pm and we’ll see what we have. I forgot to grab pictures, though, but those of you who have had raw masters with no polish know what they look like.
We’ll see how these come out, but I’m thinking round 3 will be sanded and polished with the green Zona to see what happens there.
Round 2 – 8 hours later
I pulled these at 9:30 and washed them up. They did okay, not suuuper polished at this point, but I can deifnitely see it doing something.
I returned dice to the tumbler to see if they can get any better.
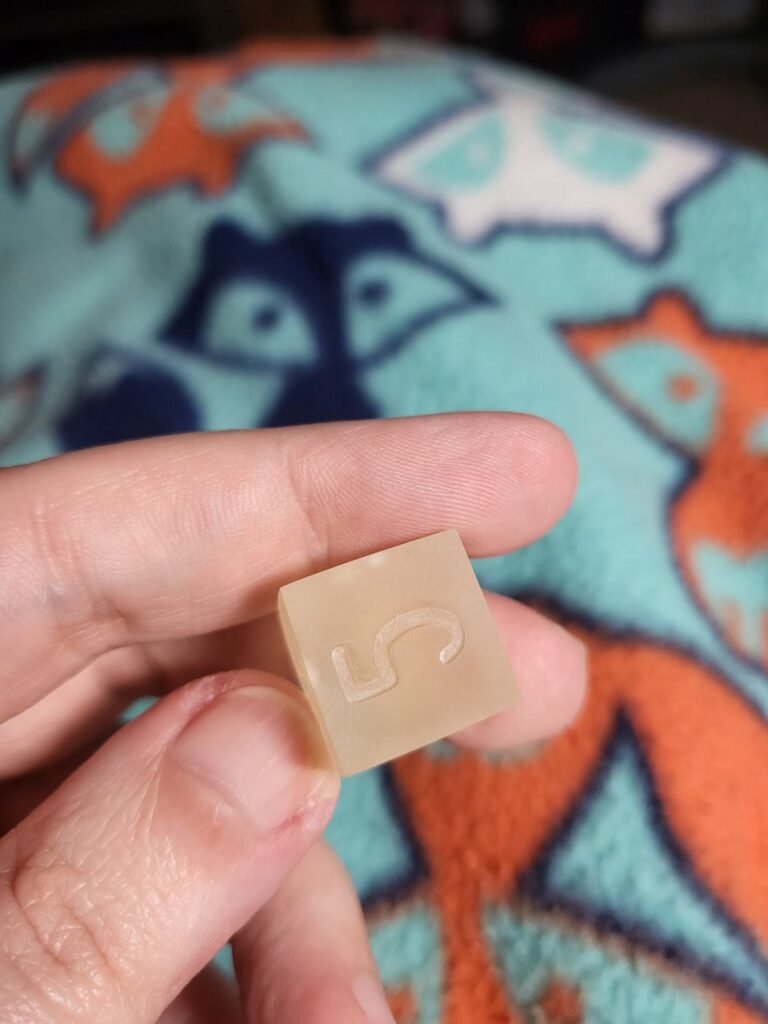
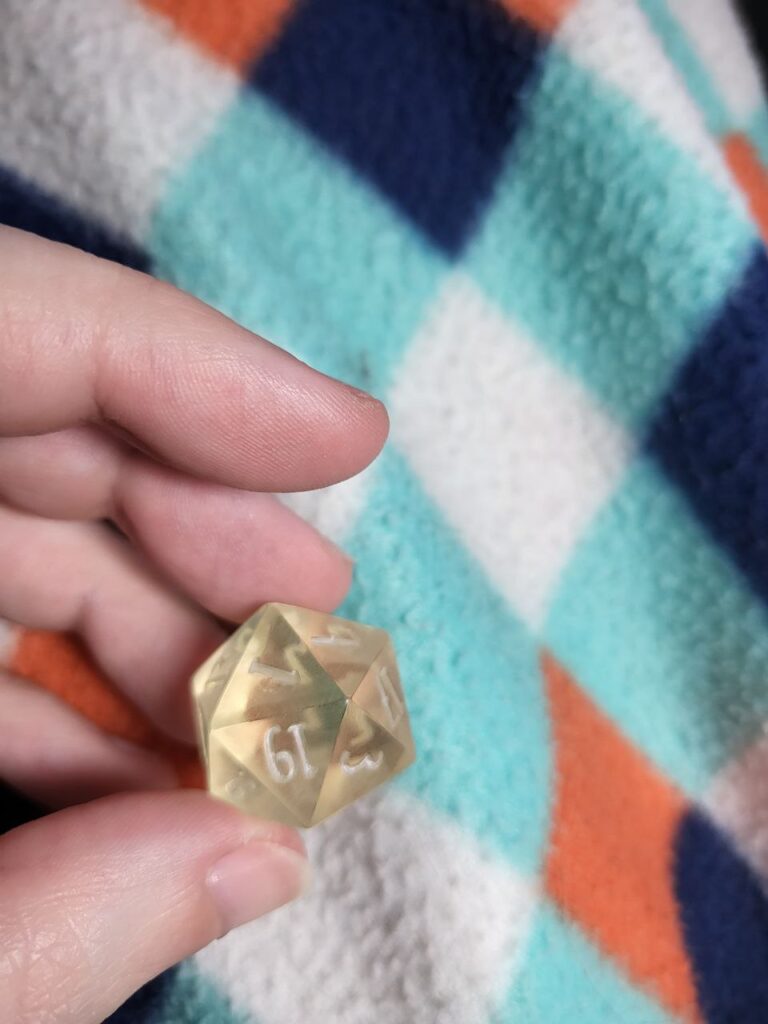
Round 2 – 12 hours later
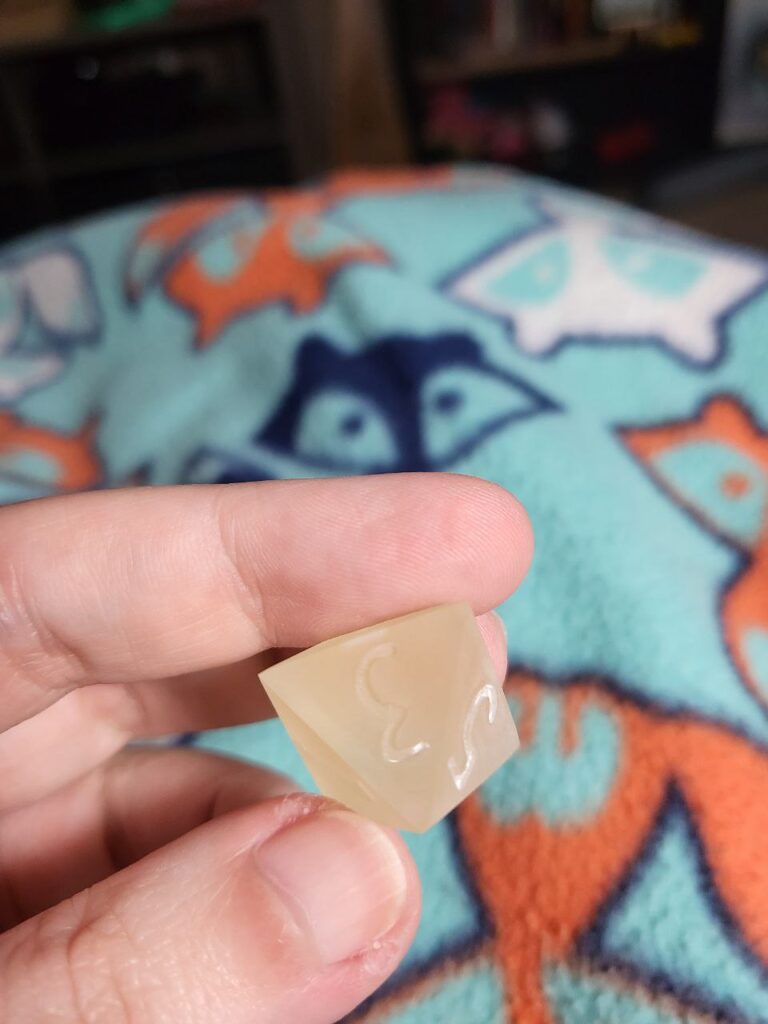
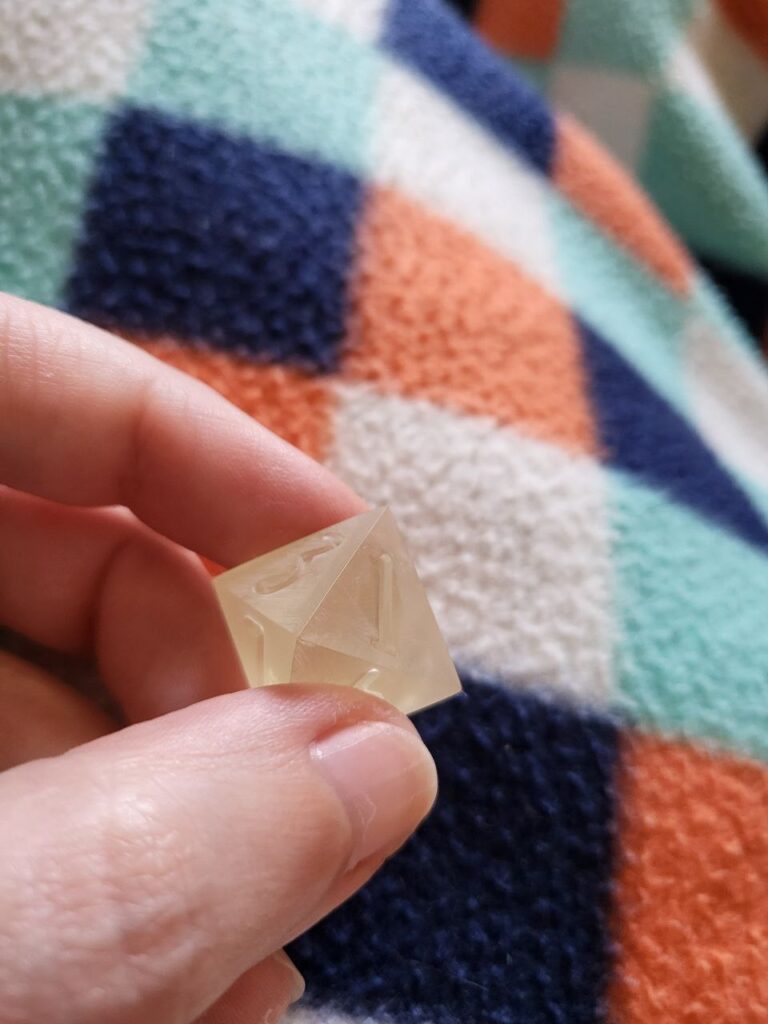
I pulled again when I got up in the morning, about 9:30, so around 12 hours. We have some nice shiny parts, but overall, this is not a good polish for these dice. Print lines are very visible, especially on the large faces like on the d4 and d6. There’s also a lot of surface scratching from the media — I’m not quite sure here what that means yet; if my media sucks, or my compound, or something else. Pretty much they look like the last round, maybe a little glassier.
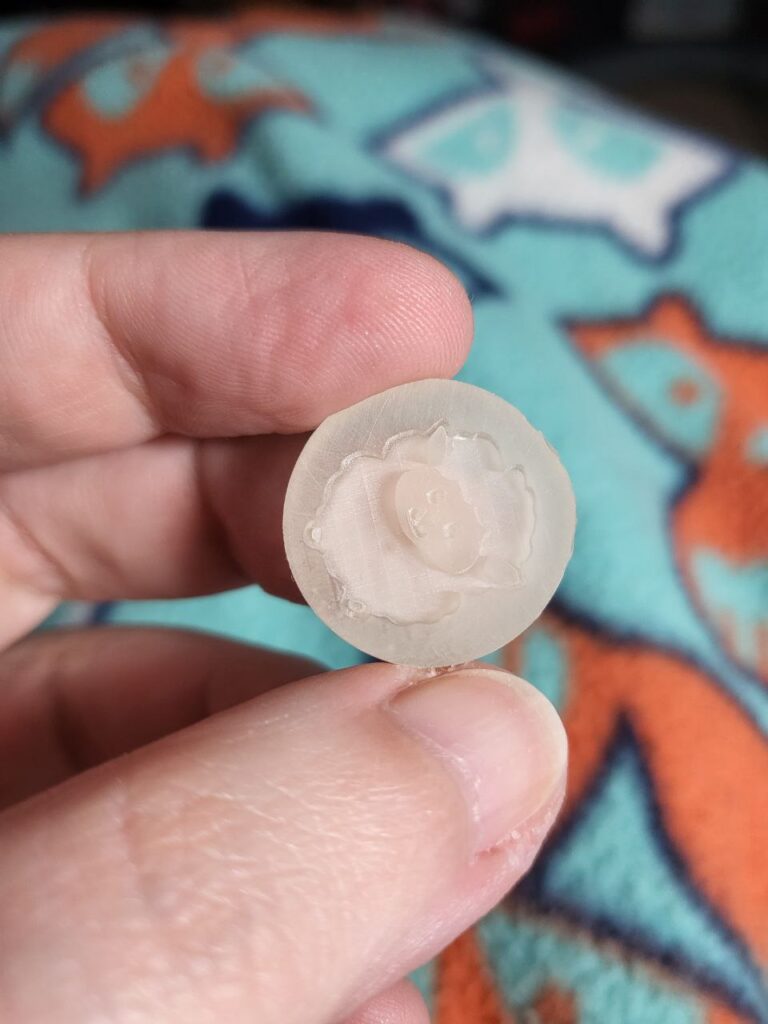
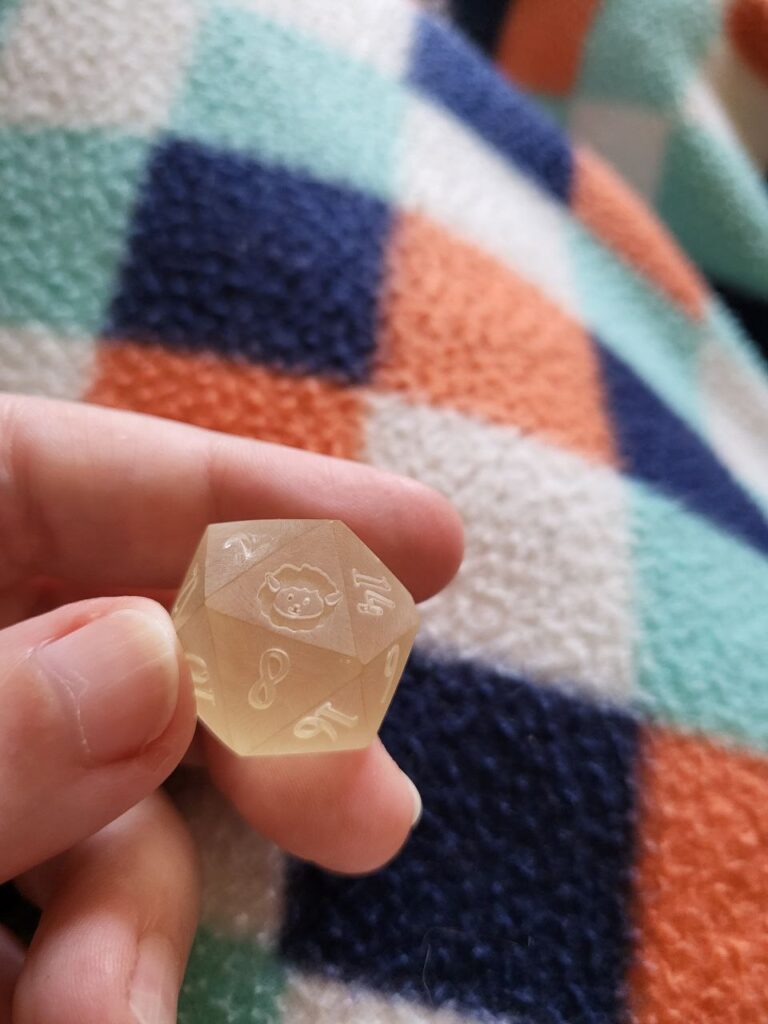
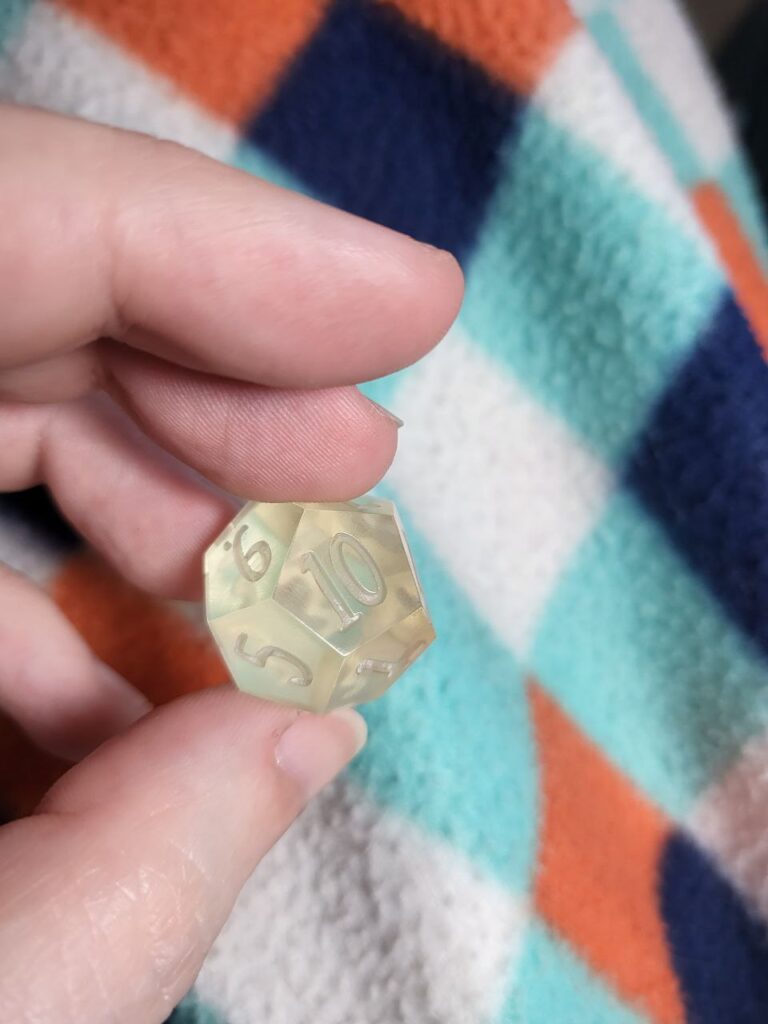
Round 3 – 4/24/22
Dice masters soaked in warm water and supports carefully removed.
Sanded with 500 grit sand paper to remove any support left overs and polished with the first (green) Zona.
Tumbler with polishing compound.
I have hope for this round of dice, but I’m still expecting the surface scratching I’ve been getting. I may have to ask around and inquire and see if anyone else has had this issue to figure out how to remedy it. Hoping the last Zona will buff it out, but we’ll see.
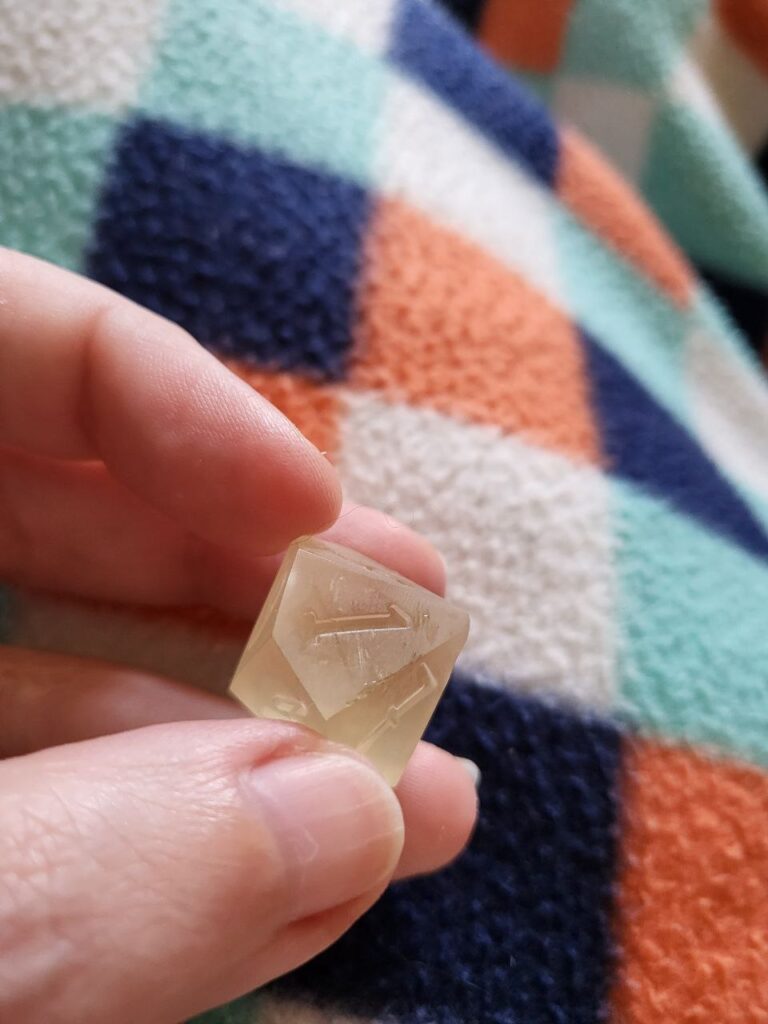
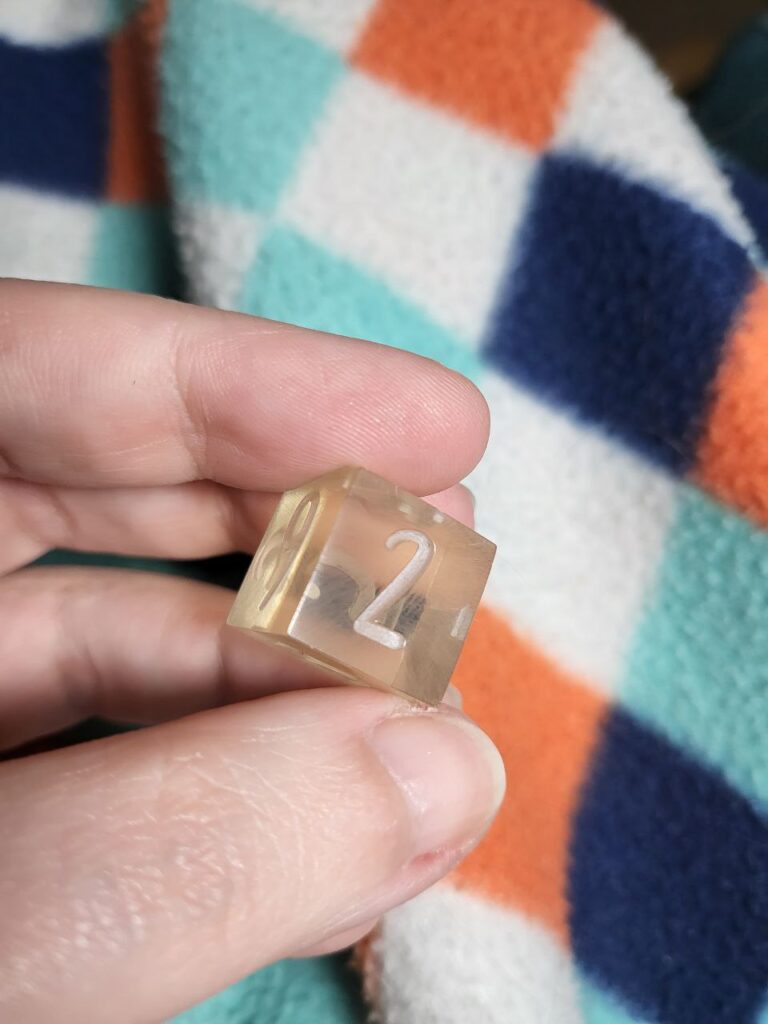
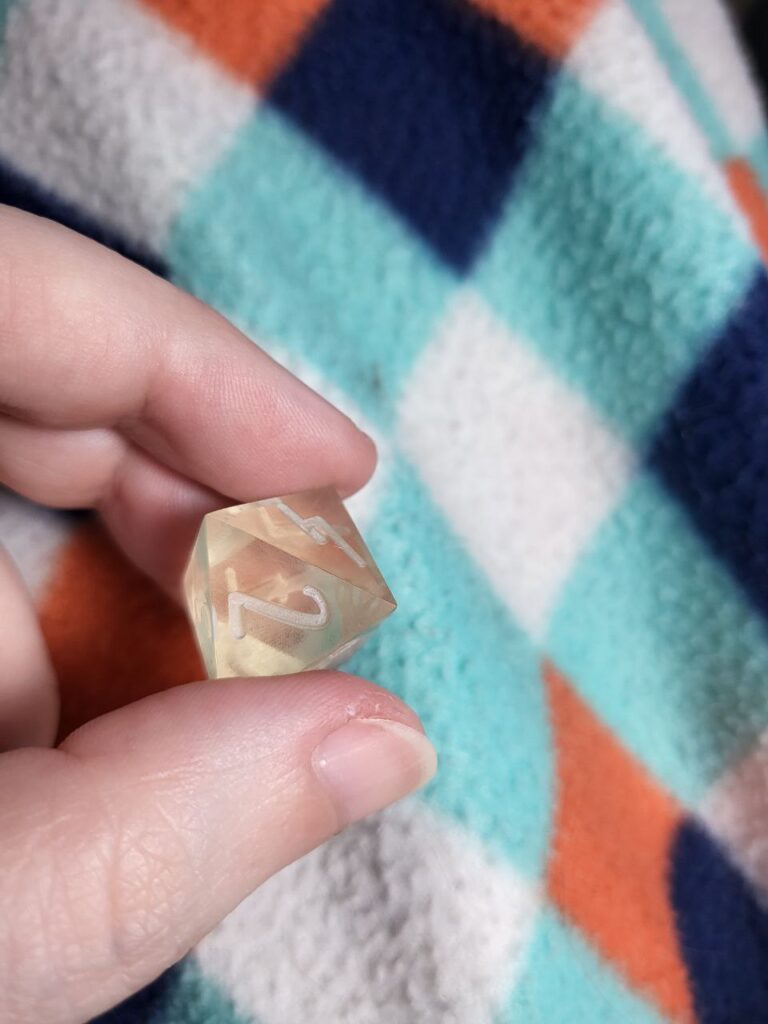
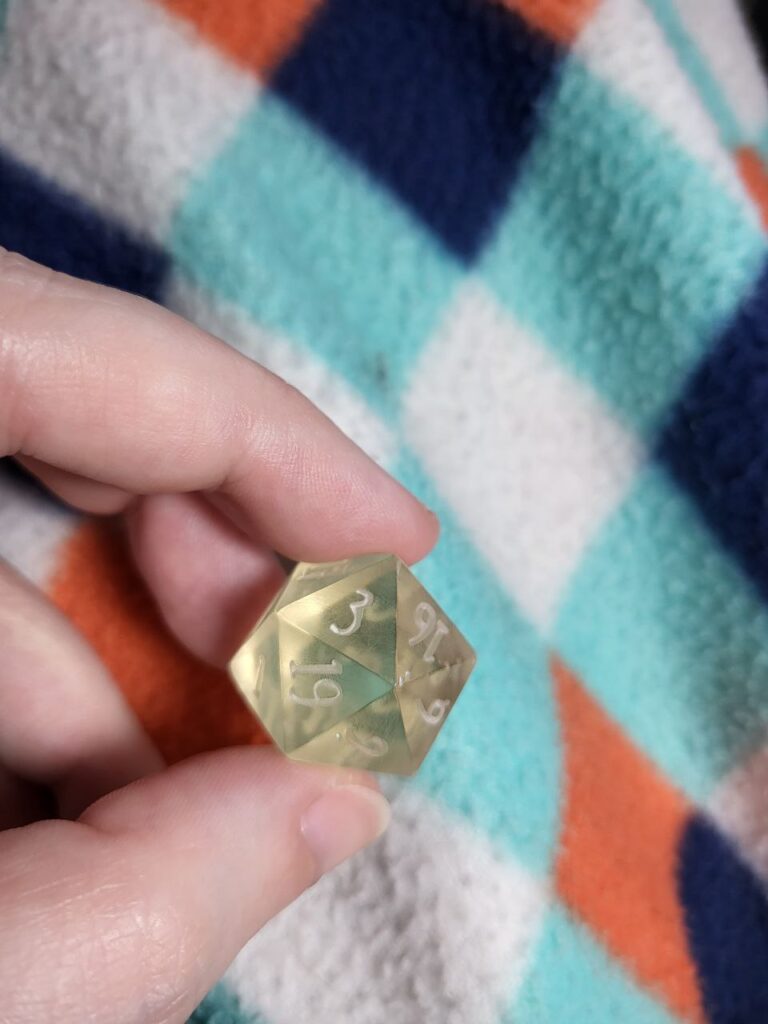
These went into the tumbler at 9am, and I pulled them at 5pm… and guys… These are pretty damn close to moldable. I’m super excited! They look like they could use a good buff, but I mean… other than that… Hopefully the photos and the videos will do them some justice, so you all can see!


@geekyjen Dice Master Polishing Round 3 – 8 hours, polished w/ green Zona. #dice #dicegoblin #dicemaker ♬ original sound – geekyjen
I’m going to give these a polish with the last Zona to see if some of the surface marks will come off, and then I will post compairision photos to my hand polished set. But they’re looking pretty good!
This post contains Amazon affiliate links.